Are you surfing for how to make a bow stabilizer? Stop worrying now, you land at the right spot. Super Reviews give the easy and simple steps to make a bow stabilizer at home with simple materials that you have in your home.
Things You Need To Make A Bow Stabilizer
- (1) 5′ section of 1/2″ copper pipe
- (2) 1 ¼ inch, ¼ x 24 hex headed bolt
- (5) ¼ x 24 nuts
- (1) 1/4 x 24 connector nut
Now, let’s Dive Into the Steps Of How To Make A Bow Stabilizer
You just need to dive into these following steps of how to make a bow stabilizer with simple and easy steps.
Step 1> Cut the Copper Pipe With the Help Of Blade
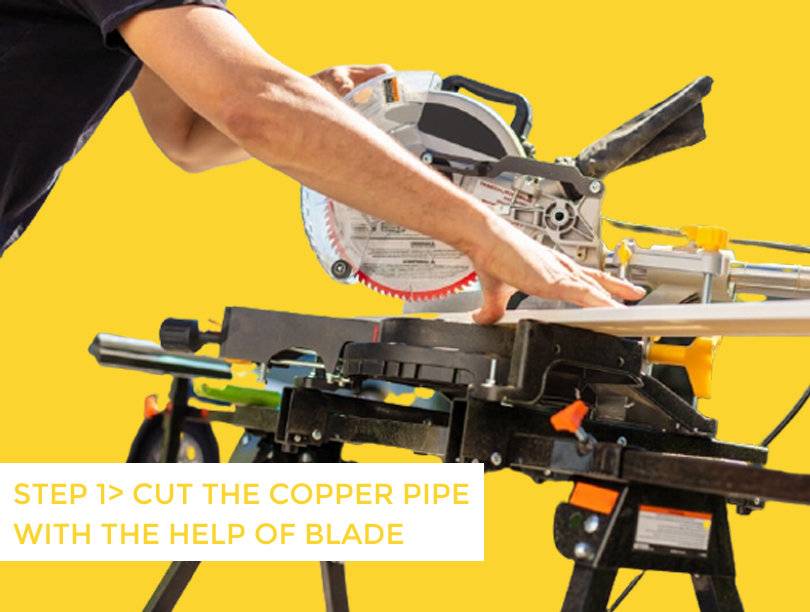
Decide for how long your stabilizer will last. I prefer to look at several “high-end” hunting models and conclude that the 8″ bar was the right number. Cut the pipe to length. The table saw is perfect for copper and aluminum with a carbide-tipped blade. Be sure to wear security glasses.
Step 2> Configure the bolts, nuts, and washers
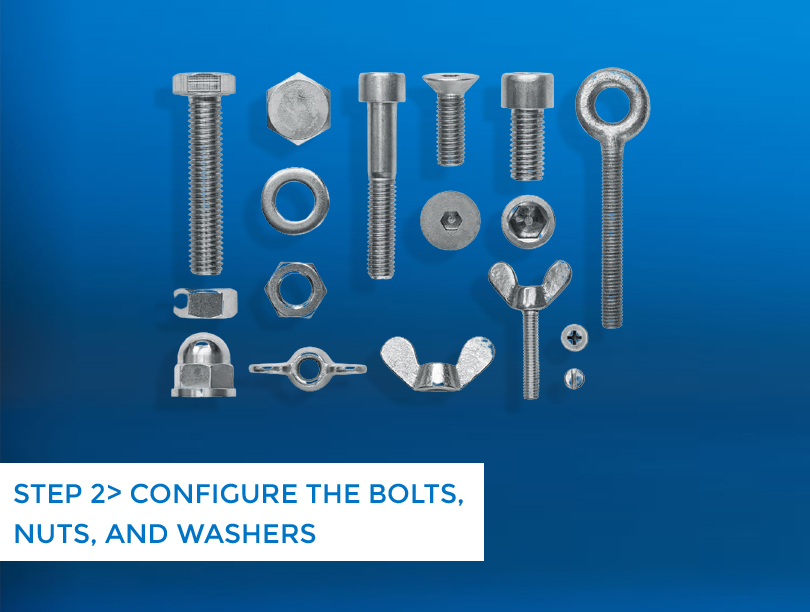
As shown in the illustration, you configure the bolt, nuts, and cloths. In addition to the weight of the top, add a little more weight to the bolt and the nuts.
Step 3> Grind The Corner of the Nuts
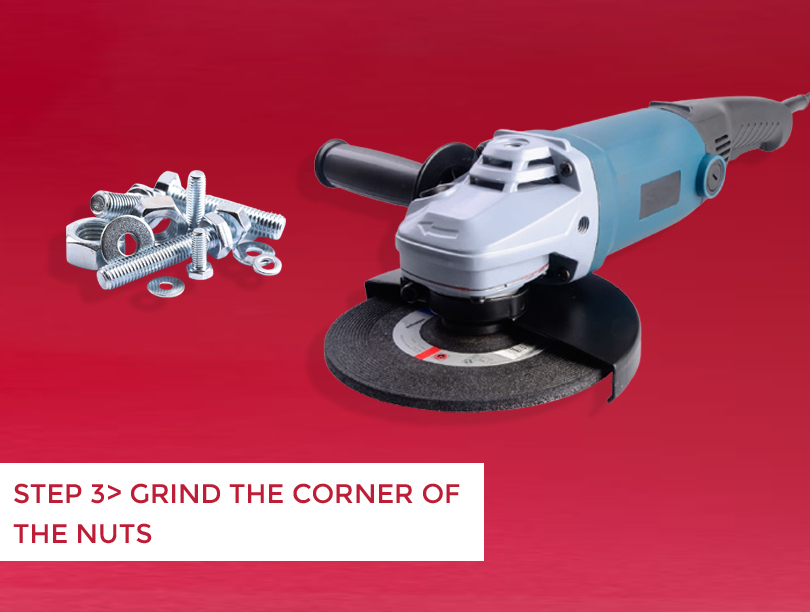
Grind the corners out of the nuts to fit into the pipe.
Step 4> Marine epoxy and a close-up of the coupler nut
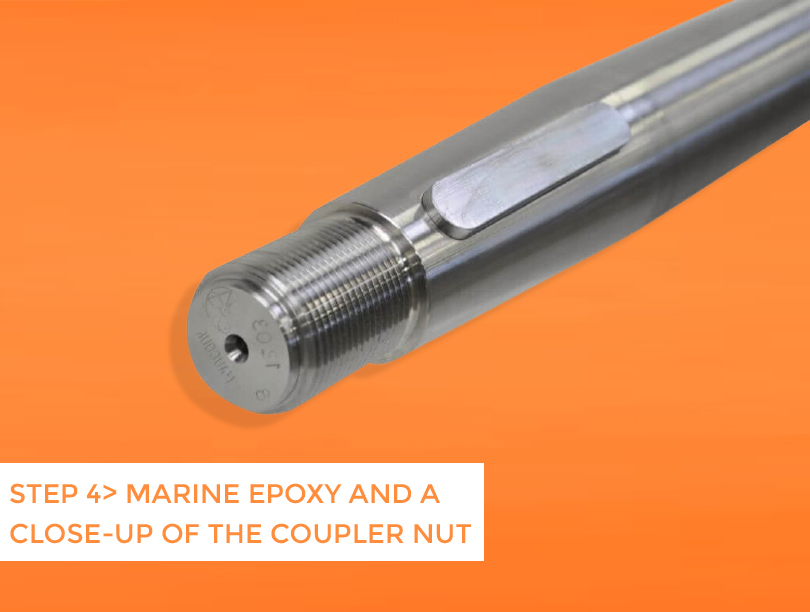
Epoxy and allow the bolt/no configurations to dry.
Step 5> Prepare The Pipe
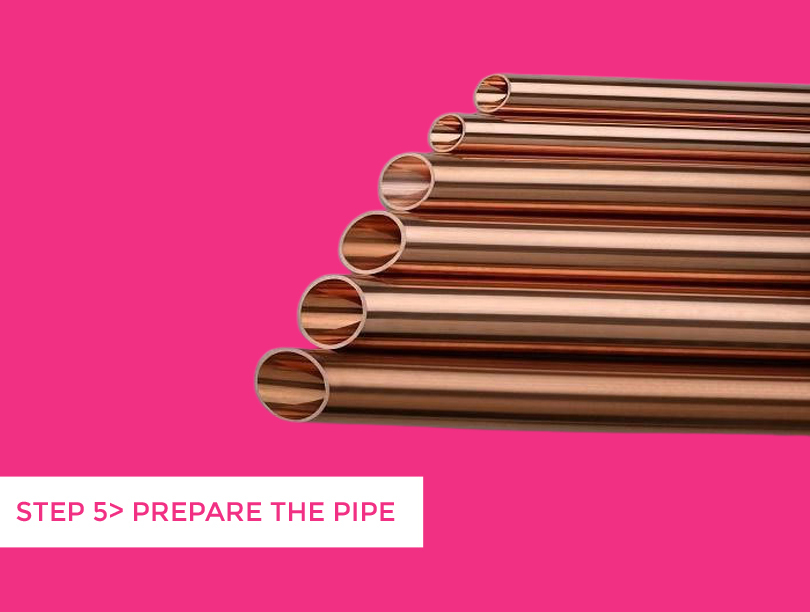
Prepare the pipe and forward weight to paint using sandpaper between 150 grains and 400 grits. Degrease with Denatured alcohol or acetone.
Step 6> Insert the Weigh
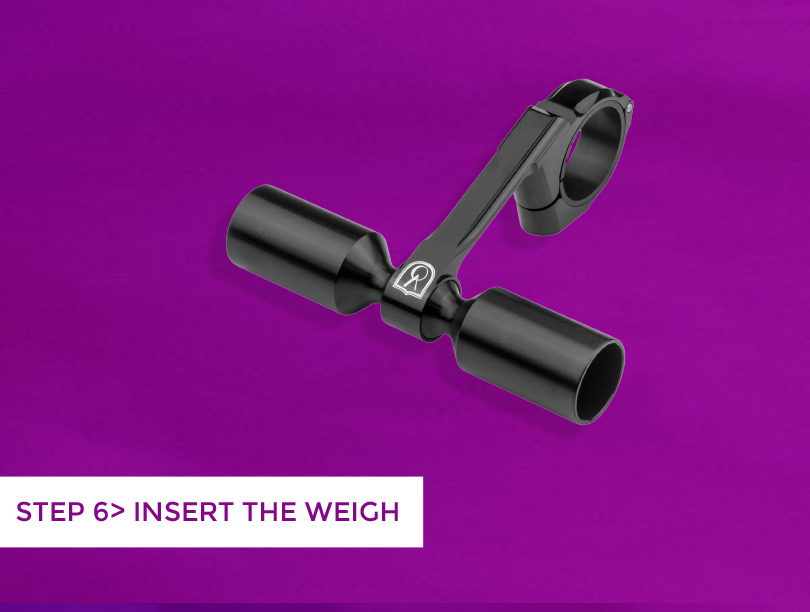
In the extension, bar Insert the weight.
Step 7> Flat Black Paint
Go with 3 flat black coats for color, followed by 3 mate transparent coats for defense then. This ending has been immune to both normal use and bug repellant.
Hurray! A bow stabilizer is ready. The above mentioned is the simple guide of how to make a bow stabilizer at home.